A few weeks ago, I decided to buy VPS hosting in a black friday promotion. It was a good price, but the operating system would have to be Linux. Usually I don’t use Linux (only occasionally for small things, running on Windows 10 WSL). So, I thought: this is a great opportunity to learn something new. And so it was. I bought a VPS with 4.5 GB of RAM, 80 GB of storage space and 3 CPU. I chose to install Linux Ubuntu 20.04 because that’s what I have installed on Windows 10. Now I have to do something with it.
A virtual private server (VPS) is a virtual machine sold as a service by an Internet hosting service. A VPS runs its own copy of an operating system (OS), and customers may have superuser-level access to that operating system instance, so they can install almost any software that runs on that OS.
from: wikipedia
Here is my ultra-basic tutorial for setting up a VPS hosting (at least that’s what I did). Of course, this is from the point of view of someone who is not a regular Linux user. That’s why this is so basic.
1 – Create a new account
It is not a good idea to always use the root login. There are several reasons for this, for example, to avoid mistakes with an account with too many privileges, or to protect the system since all hackers know that there is a root account and therefore, this is a point of attack to the system.
To create a new user, execute with the root account:
adduser newUserSometimes it is necessary to execute some commands with more privileges and therefore, it is recommended to give this possibility to the new user. We can execute the following command:
usermod -aG sudo newUserThis will give sudo permissions to the new user. When it is necessary to execute a command with more privileges, the user can execute: sudo [command].
2 – Disable root login
It is also recommended to disable root login and only allow login with the new account. We can do this in the following way.
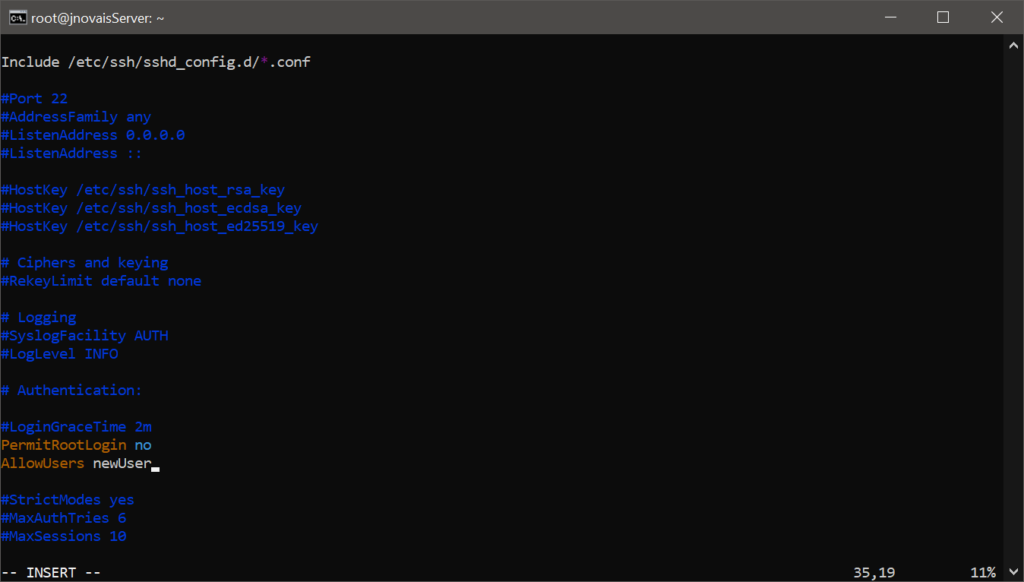
Edit this file: /etc/ssh/sshd_config
vim /etc/ssh/sshd_configI’m using the text editor vim, because I still remember some commands, so it is simpler for me. But you can use another one.
In this file, look for the line PermitRootLogin yes and and replace with this PermitRootLogin no.
Also add the line: AllowUsers newUser
Finally, we should restart the ssh service:
sudo systemctl restart ssh.serviceNow it should be possible to log in with the new account but not with the root account.
3 – Install and configure a firewall
Another important aspect to consider is the installation of a firewall. Setting up a firewall can be tricky. So, I researched what I could use in Ubuntu and discovered something called UFW (Uncomplicated Firewall) which is a simplified management interface for iptables – a much more complicated tool for lower-level packet filtering. If UFW is not already installed on the system, we can do it by simply running this:
sudo apt install ufwWe can then do some basic confirmations. We start by allowing incoming SSH connections (default port 22):
sudo ufw allow sshor:
sudo ufw allow 22To enable UFW, we must execute:
sudo ufw enableNote that before enabling UFW, a rule must be configured for the ssh port.
List rules displaying a number in each rule:
sudo ufw status numberedRemove a rule by number:
sudo ufw delete 2Allow access to port 9000 only for a given IP address:
sudo ufw allow from 109.50.123.109 to any port 9000Allow HTTP connections to port 80:
sudo ufw allow httpOr:
sudo ufw allow 80Allow HTTPS connections to port 443:
sudo ufw allow httpsOr:
sudo ufw allow 443Restart the firewall:
sudo ufw disableand then:
sudo ufw enableNow I can start using my VPS hosting.